
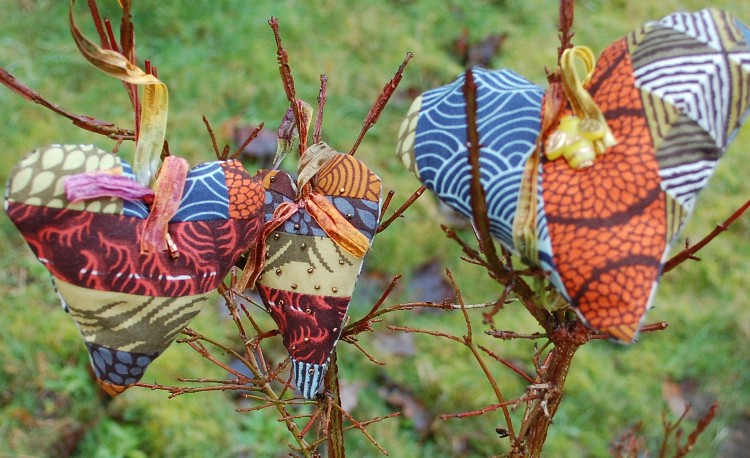
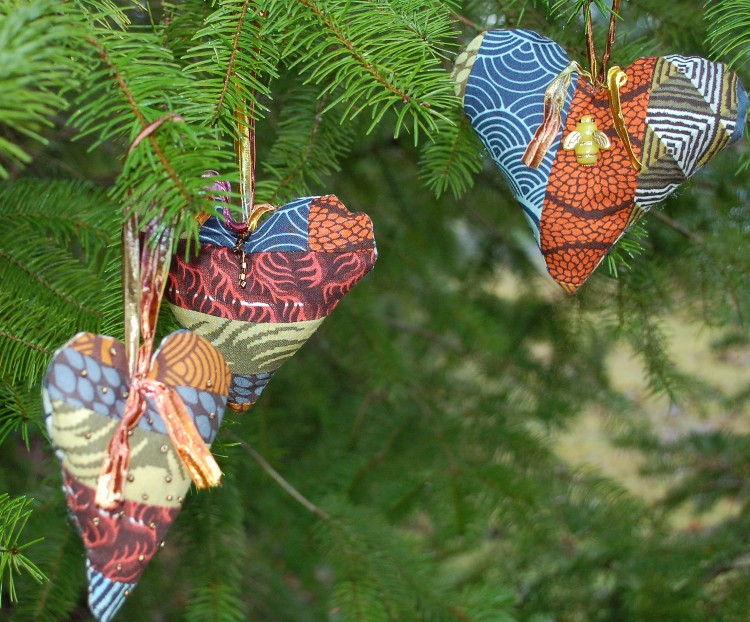
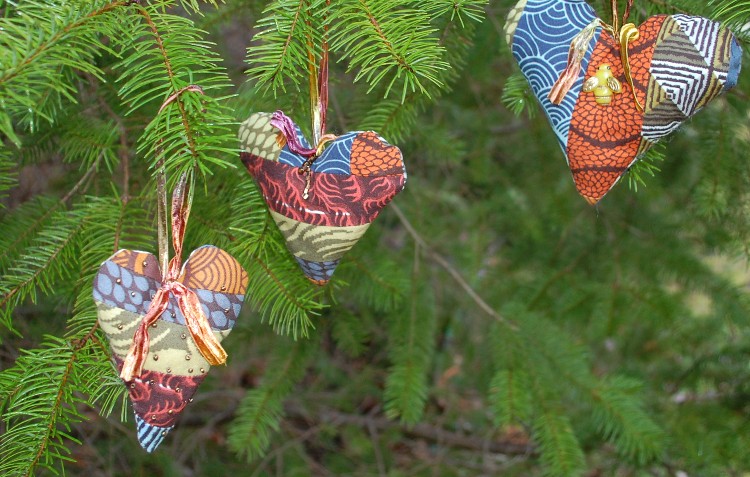
Steampunk Love….
So today I bring you my little SteamPunk Hearts … just barely in time for Valentine’s Day, but none the less …in time….sort of….
I have had this Seven Wonders line by David Butler for Parson Gray and Free Spirit sitting here for longer than I wanted it to, and I was just itching to cut into it for a bigger project, but before I started that I thought I could bring you a little project for fun!
Here’s what I did (I think they call this a tutorial, because I have a lot of pictures….) 🙂
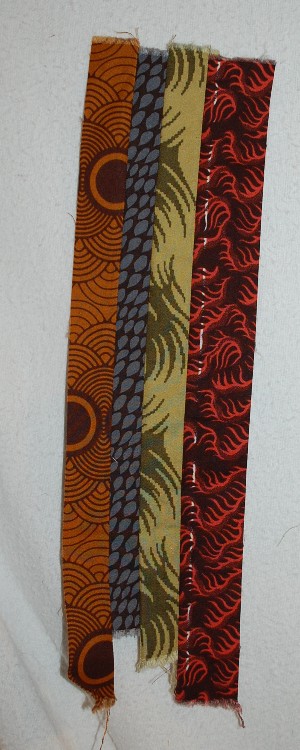
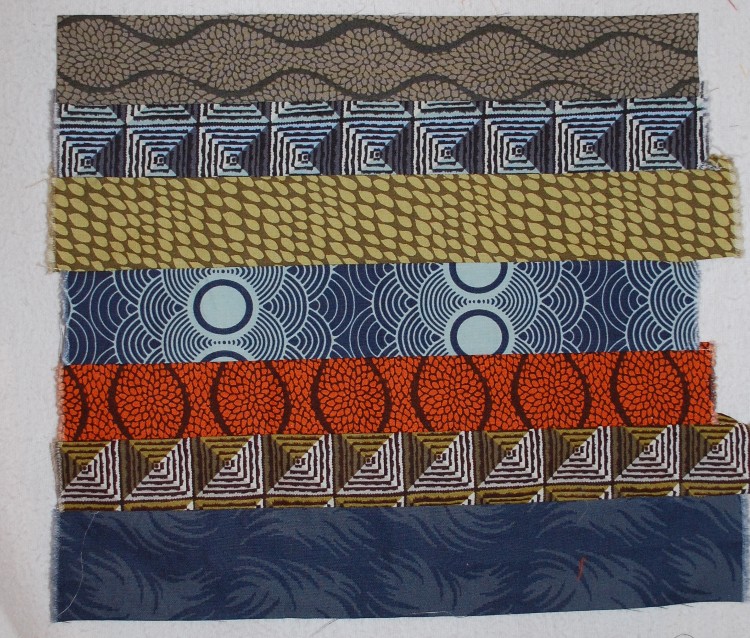
First I sewed 4 narrow (roughly 1″ to 1.75 ” x 12″ or so) strips together like this:
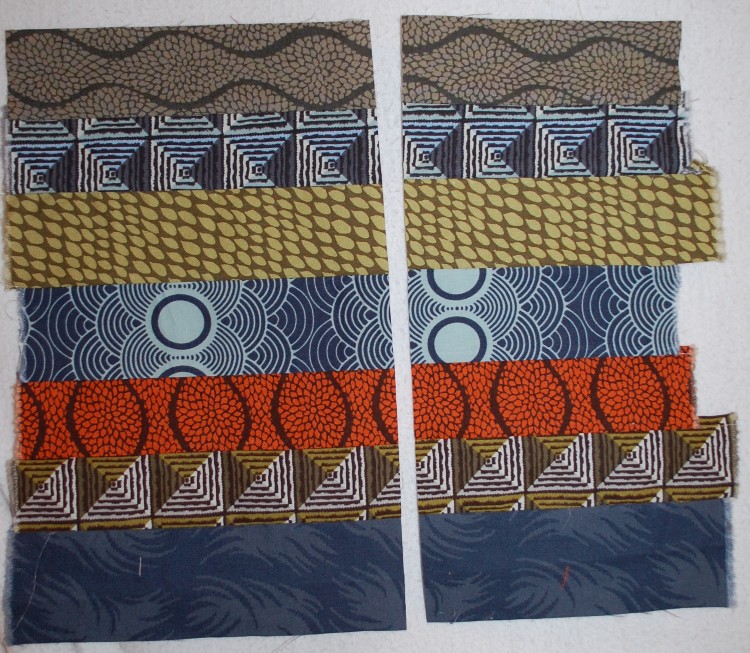
Then I sewed some wider strips (about 2″ to 3″ x 12″ or so) together like this:
Then I cut that strip set in half (ish):
I flipped one half of this set around and then sewed the narrow strip between the two halves like this:
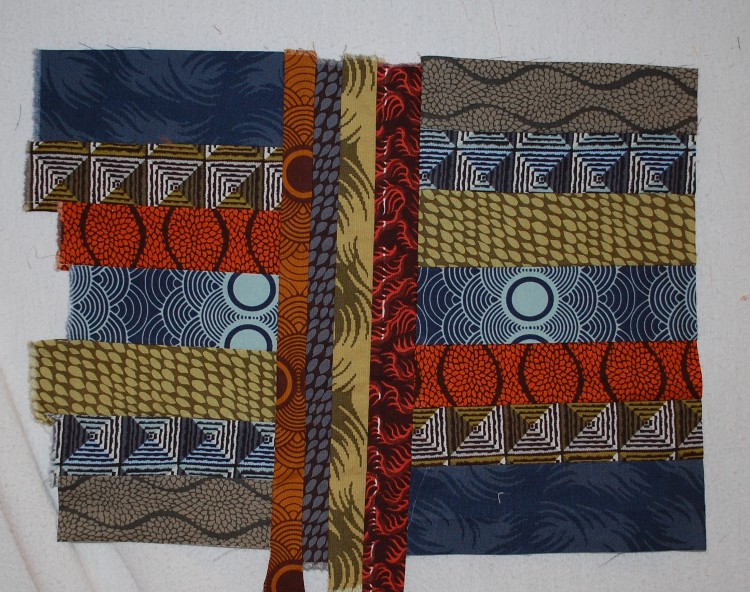
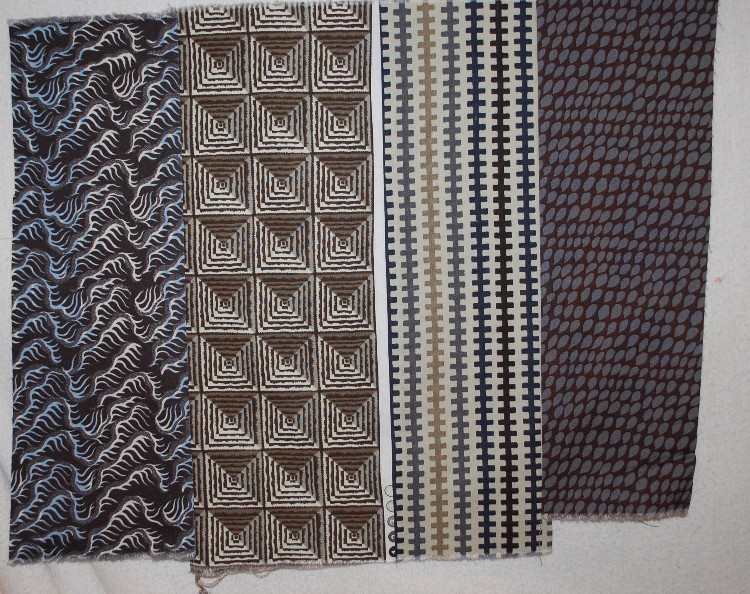
For the backs I sewed four wider strips together (about 4-ish” x 12″)
Then I pressed these two pieces right sides together (pressing the layers together helped them “stick” together a little better I felt) and pinned the pattern sheet I created for three heart sizes to both pieces. (Click here for the PDF template for the heart shapes.)

Then I just sewed right on the lines through the paper and both layers of fabric, starting at one end of the dotted line and ending at the other end. Do some back stitches when you start and end on each heart to make stuffing the hearts easier. I set my stitch length to 1.25 instead of my normal 2 to make tearing the paper off easier later.
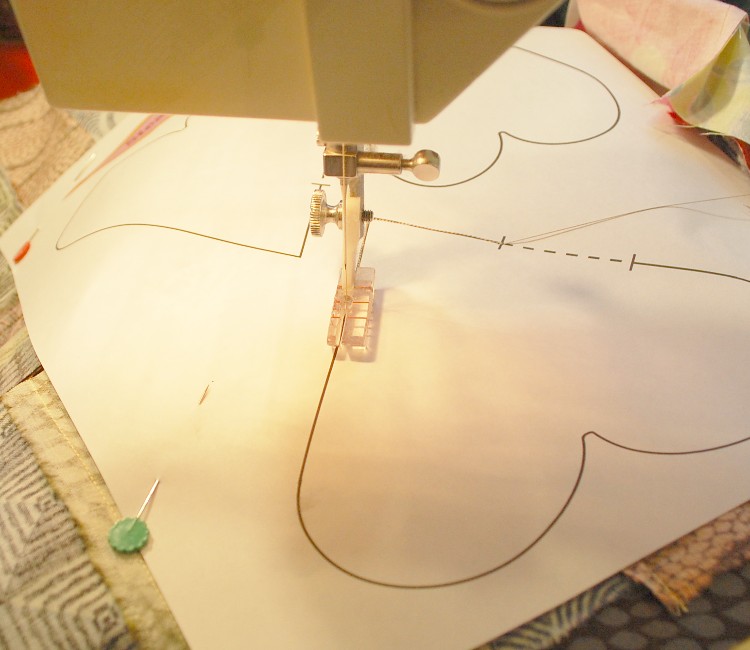
Note: I didn’t always sew directly on the lines…..and the world didn’t stop turning….at least here it didn’t…..
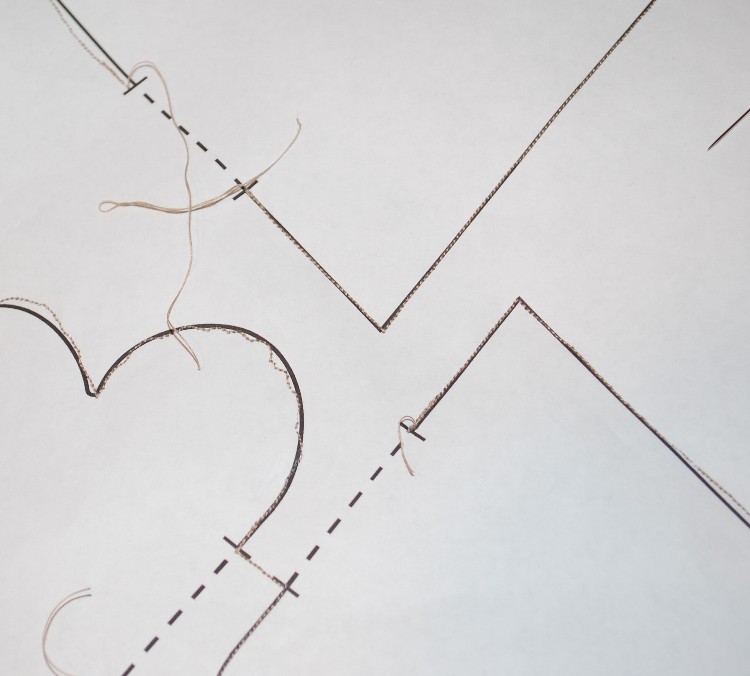
Then I pulled the paper away from the fabric and cut the shapes out of the fabric. I used a very neutral thread, so that made it a little hard to see the sewn lines, but I didn’t necessarily want my stitches to be noticeable should they be stretched when stuffed. You might want to use a thread with more contrast to make cutting them out easier.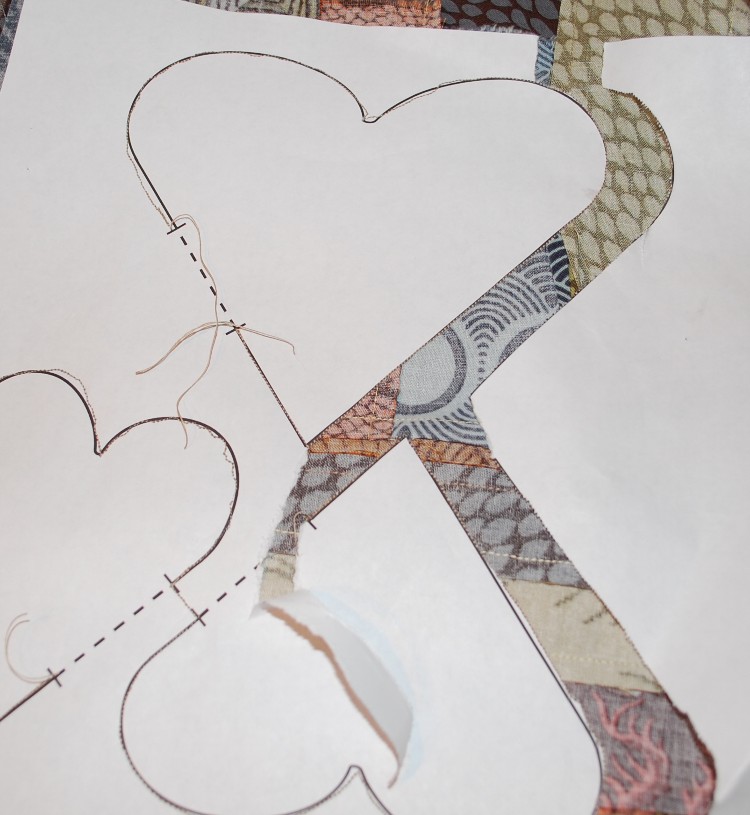
So here they are cut out.
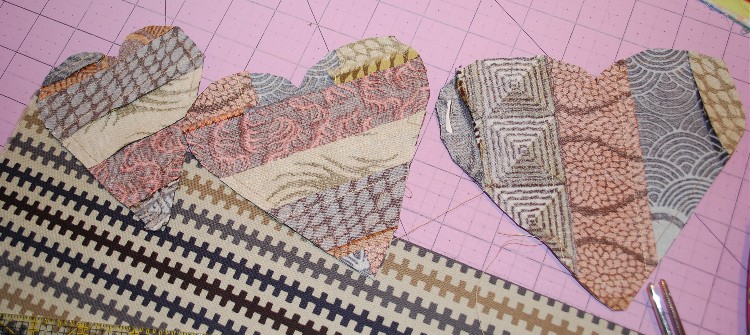
After that I just turned them right-side out and pressed the opening nice and flat so it would be easier to sew up by hand after I lightly stuffed them with fiberfill.
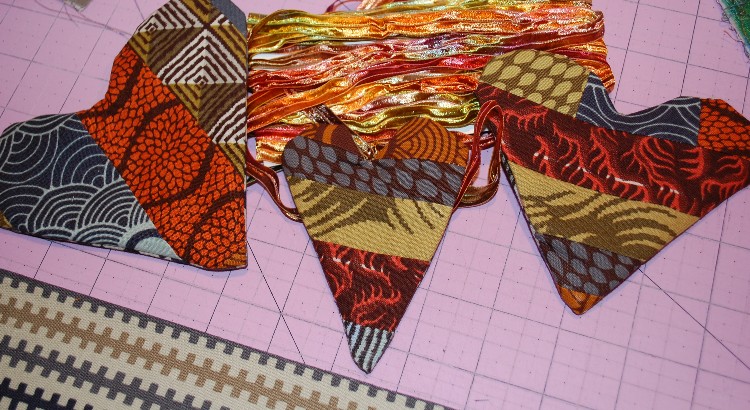
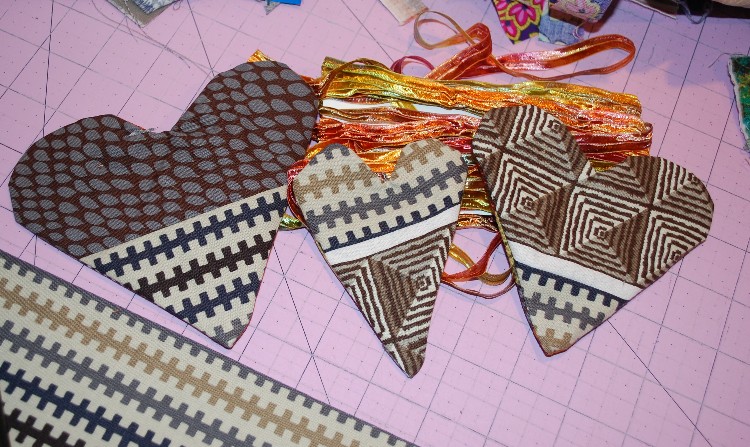
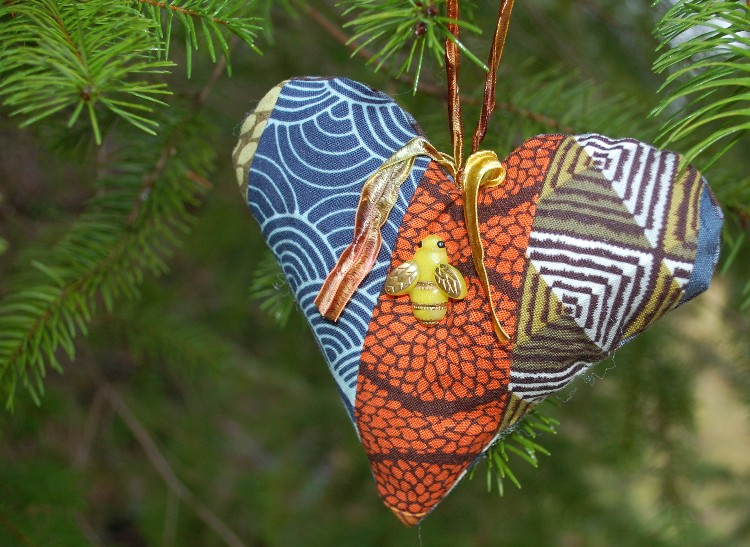
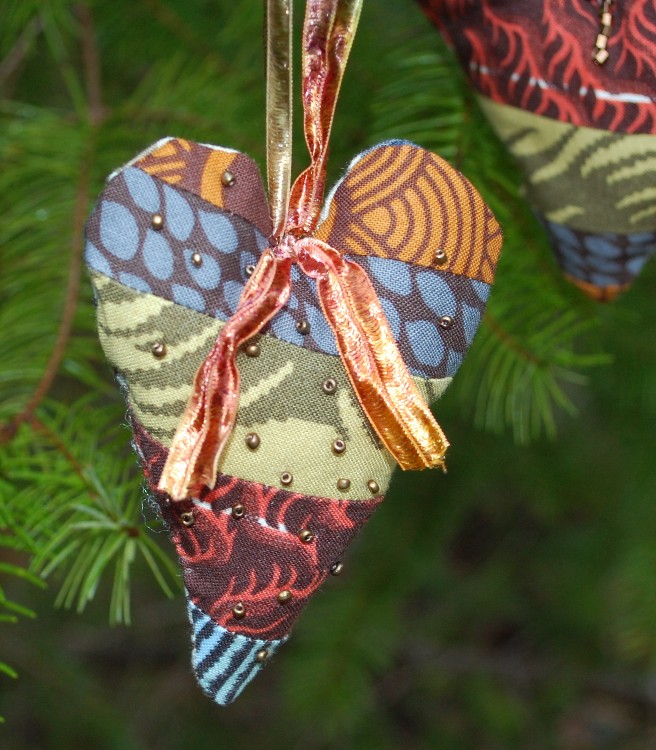
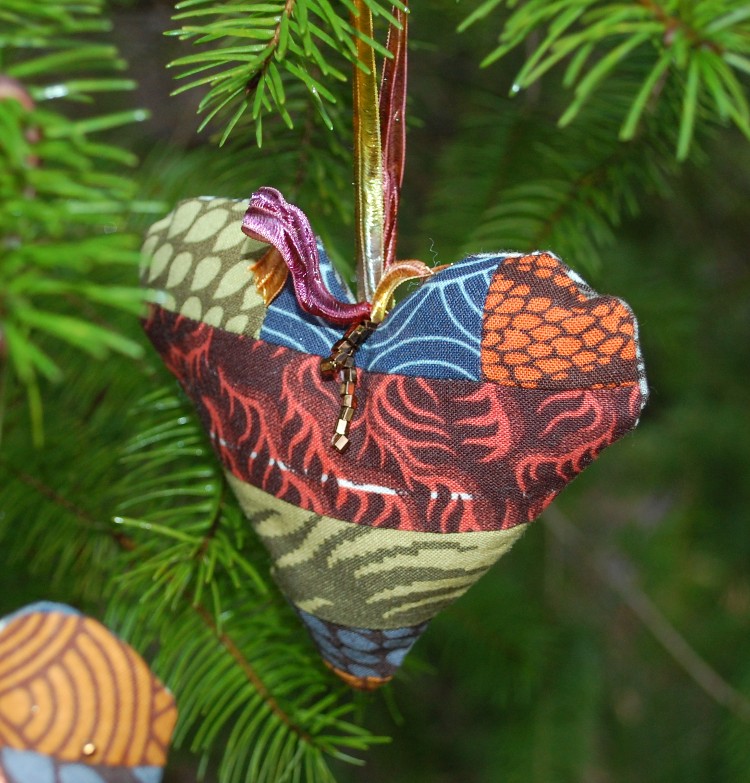
So after that I just lightly stuffed them with fiberfill, sewed some ribbon (that was PERFECT for this project!) on for hangers and sewed on some beads and buttons for a little embellishment. If I have time tomorrow I may make some more in a more “traditional” Valentiney element.
Feel free to make as many as you want! And share them here if you get the chance as well!
Kerry
I “heart” these! I would love to whip some up right quick to give to my prayer partner for V day!
Jeanette
I really like these Scott, esp the geometric patterned fabric. Thanks for the tutorial, looks easy and fun!
Happy Valentines Day!
Heather
very fun hearts. Love them. Can’t ever have too much colour